| < Previous page | Next page > |
|
GPS Pickup
Most Grading systems (for example Field Level2, Farmscan etc) will pick up the data for you directly; and if available we suggest that you use there supplied option.
If you do need to pick up your data directly then. Firstly the GPS needs to support NMEA GGA codes and it must be set running to put out this data. Most commercial GPS units we know of support this data output. Also be aware that the GPS needs to be an RTK for the height value to be accurate enough for land grading.
If you are running Ezigrade on a John Deere system then we suggest you also look at the "Running Ezigrade under Igrade" section of this manual.
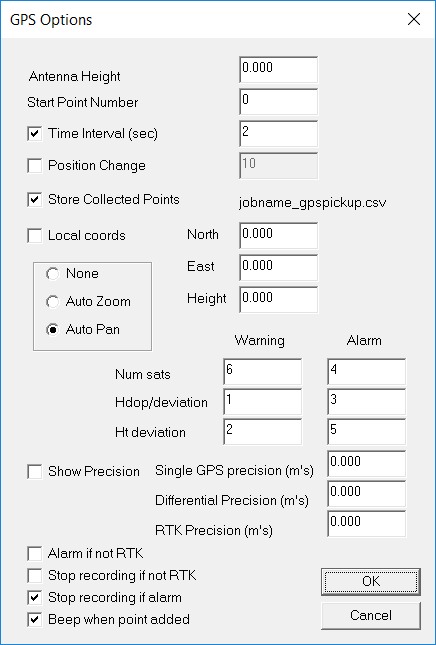
GPS Options.
From the "File" menu select GPS. The following ribbon is displayed:

We suggest that you normally work in this mode. However Ezigrade also allows you to work in local coordinates. In this mode you would select a point and set this to be the zero, zero point. All points are subsequently added in referenced to this point. Ezigrade stores the coordinates of the local reference point in the registry if you need to pickup further points at a later date. However if you do a new job and change the local coordinates then the original setup coordinates will be lost from the system. We suggest that you write them down somewhere.
Num Sats.
This is shorthand for the number of satellites. For data consistensy we often wish to flag a warning or an alarm if the number of satellites visible drops below a preset number. On the GPS bar we would display green if we have sufficient satellites. If this number drops it changes to Orange and if it drops below the warning level then displays Red. An audible alarm is sounded. There is a further option to disable data input at this time if this is what you require.
HDOP variation.
HDOP stands for Horizontal Dilution of Position. It is a good indicator of the precision of the GPS reading received. To estimate the accuracy multiply this number by the quoted GPS accuracy. For example if your GPS is good for an accuracy of 5 meters in stand alone mode but the HDOP value is 4 then the data is only accurate to 5*4 ie 20 meters. Enter your values here for the values you will set a warning and an alarm as necessary.
Show Precision.
Rather than display the HDOP and VDOP values Ezifield can estimate a precision value for you. Set the GPS accuracy values for RTK,DGPS and GPS mode. Ezifield knows which mode the GPS is running in and can display the expected precision value.
The remaining tick box's allows you to set alarm's and stop GPS pickup automatically if your data falls outside the appropriate ranges.
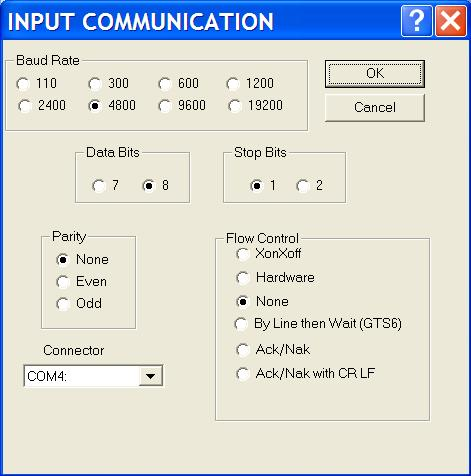
GPS Serial Port
GPS Pickup
Clicking the Start/Stop button or menu item starts up the GPS pickup.
Ezigrade now starts checking the appropriate serial port for a NMEA GGA string. An additional toolbar is displayed when data is being picked up.

There is a blink button on the left that blinks when a GGA string is received. Additional data is displayed such as Horizontal Dilution of Position, number of satellites, calculated East,Noth and Height. The colors also of HDOP and satellites also change from green, orange and red etc depending on whether you have warnings set from the options dialog box,
There are a number of ribbon and or button icon's which relate to GPS activity's. The serial port icon brings up the baud rate etc options. The traffic light icon is an on/off switch. If GPS pickup is running; pressing this button stops pickup. If GPS pickup if stopped pressing the on/off icon turns it back on.
The “+” icon will enter a point at the current GPS position.
The red/green triangle icon shows the difference in height between the current GPS position and the active triangle surface. This can be a design surface and will give you the height difference from current to design.
Also valid data is stored away in the file "myjobname_storegps.csv". There is an option to turn this on or off. At present it defaults to on and is recommended as you can recover any relevant data in the event of a computer failure etc.
|